
Papertrey Ink
New Release Countdown: Day 1
Hi friends and welcome to day one of the new release countdown for Papertrey Ink. The new release is packed full of so many amazing products for fall and Halloween! I know you are going to love it!! I have four cards to share today so let's get started.
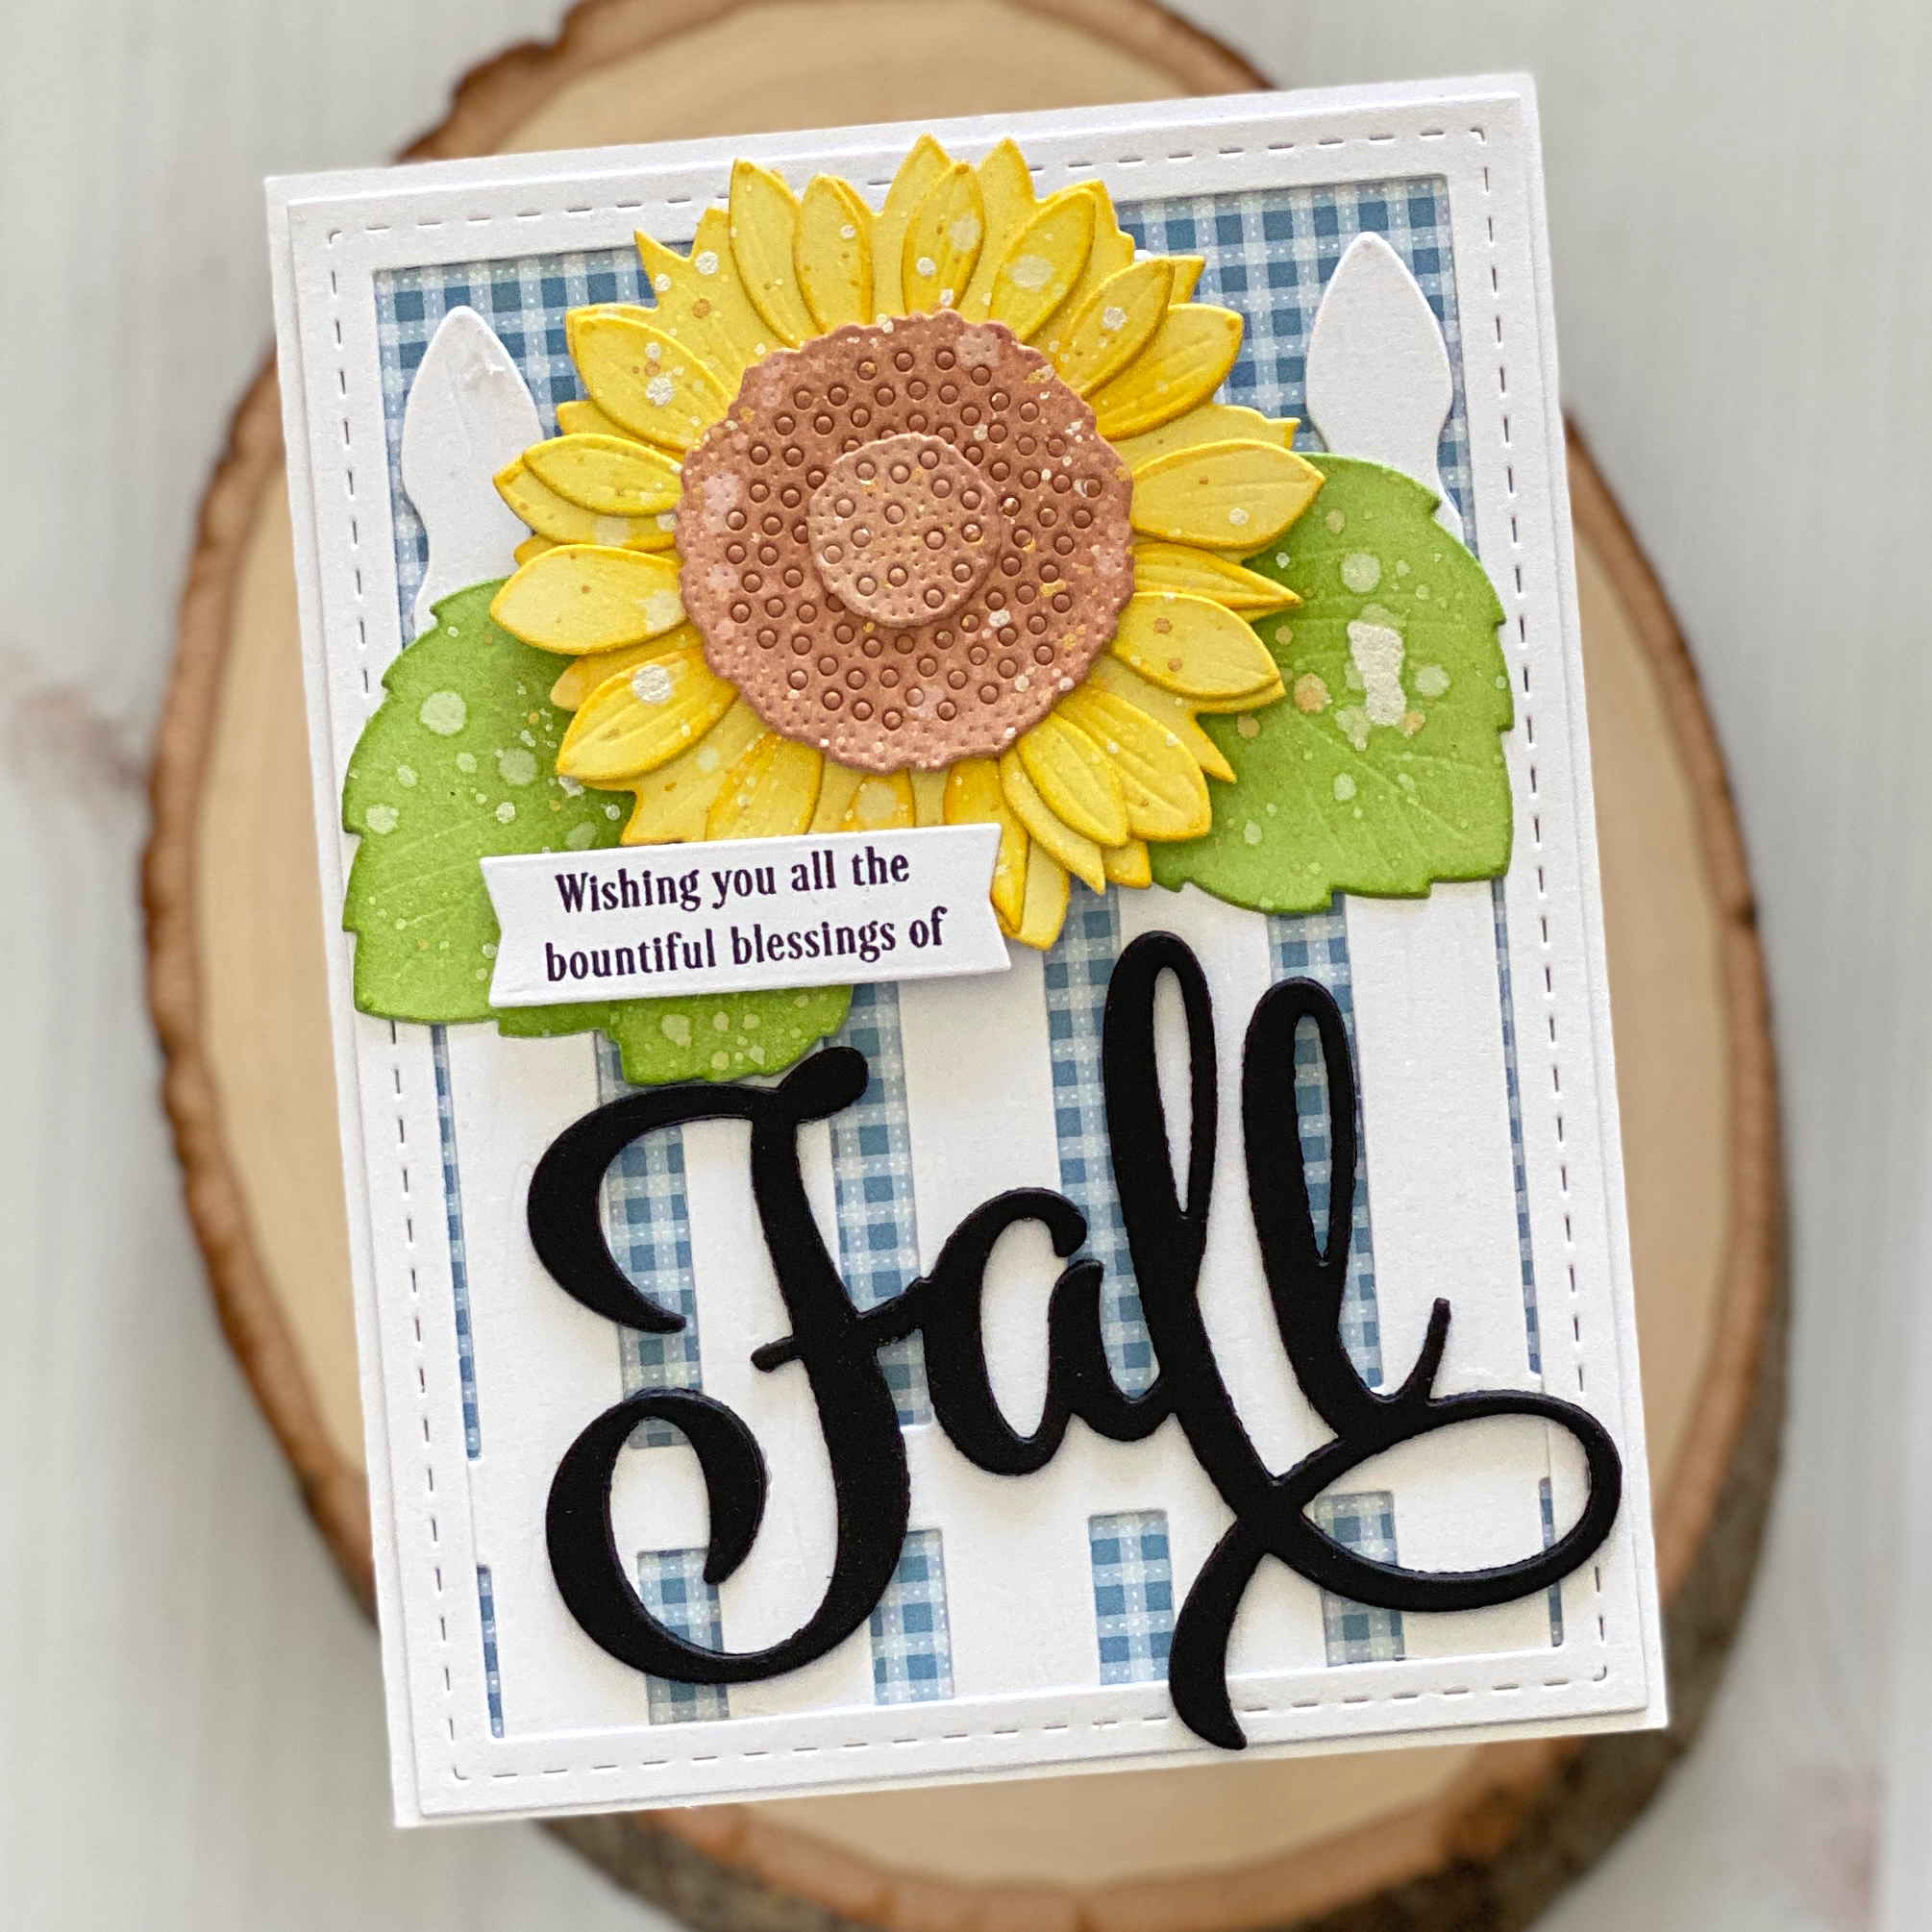
I started my first card by die cut my sunflower with the new Into The Blooms: Sunflowers die set. I added Bright Buttercup, Summer Sunrise, New Leaf, and Classic Kraft ink to the die cut pieces and then assembled my flower. Next, I splattered the die cuts with a little gold and white watercolor paint and set the flower and leaves aside to dry.
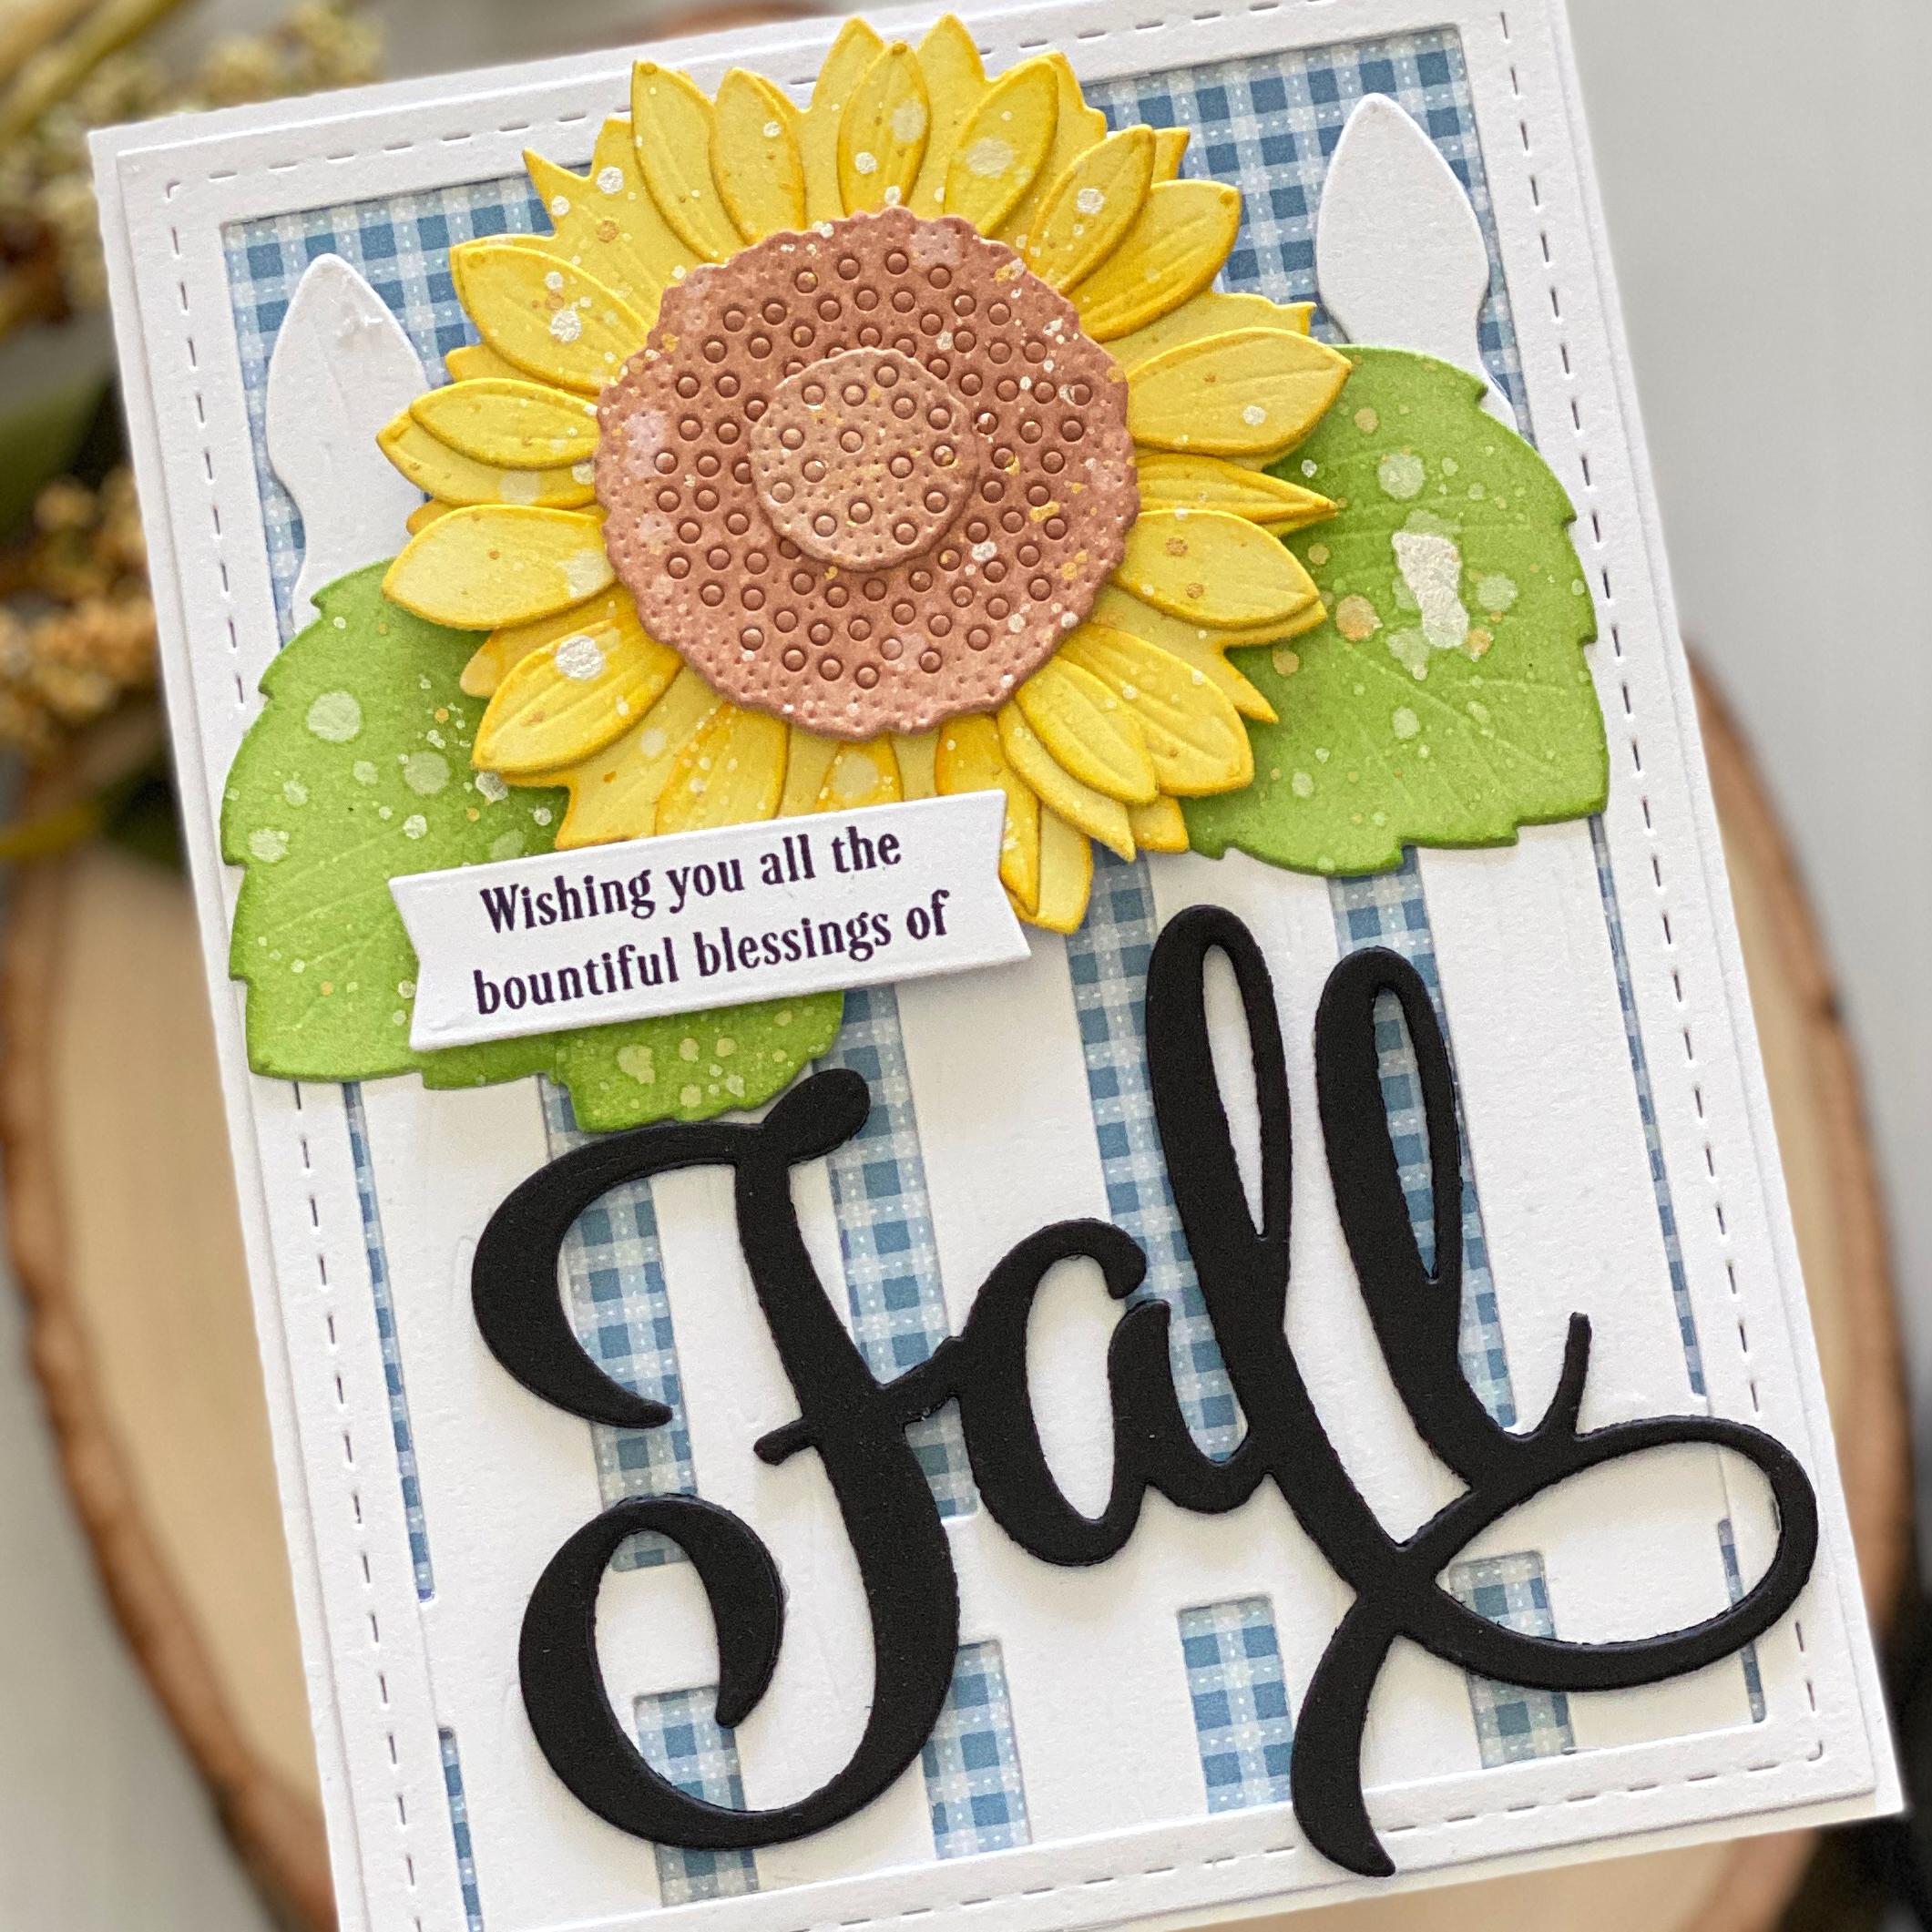
For my card panel I used a piece of Blueberry Sky patterned paper. I added a frame that I die cut with the Border Bling: Skinny Stitched Frame die and I used the Picket Fence die for my fence. Next, I attached my sunflower and leaves and used the new Larger Than Life Fall set for my sentiment. Don't you just love this large Fall die? The font and size are just perfect! I also love that there is a coordinating sentiment set available too.

For my next card I die cut my sunflowers and leaves with patterned paper. I used Summer Sunrise, Classic Kraft and New Leaf paper. I think the small prints work perfectly for the flowers and it's a fun added detail. Next, I used the Weave A Basket die to create my basket. I cut off the handle and then filled the basket with my florals.

For my card panel, I used the Border Bling: Tin Stitch die. I then added a frame that I die cut with the Border Bling: Skinny Postage Frame. Once I attached my basket, I used the Larger Than Life Fall sentiment set again for my sentiment.
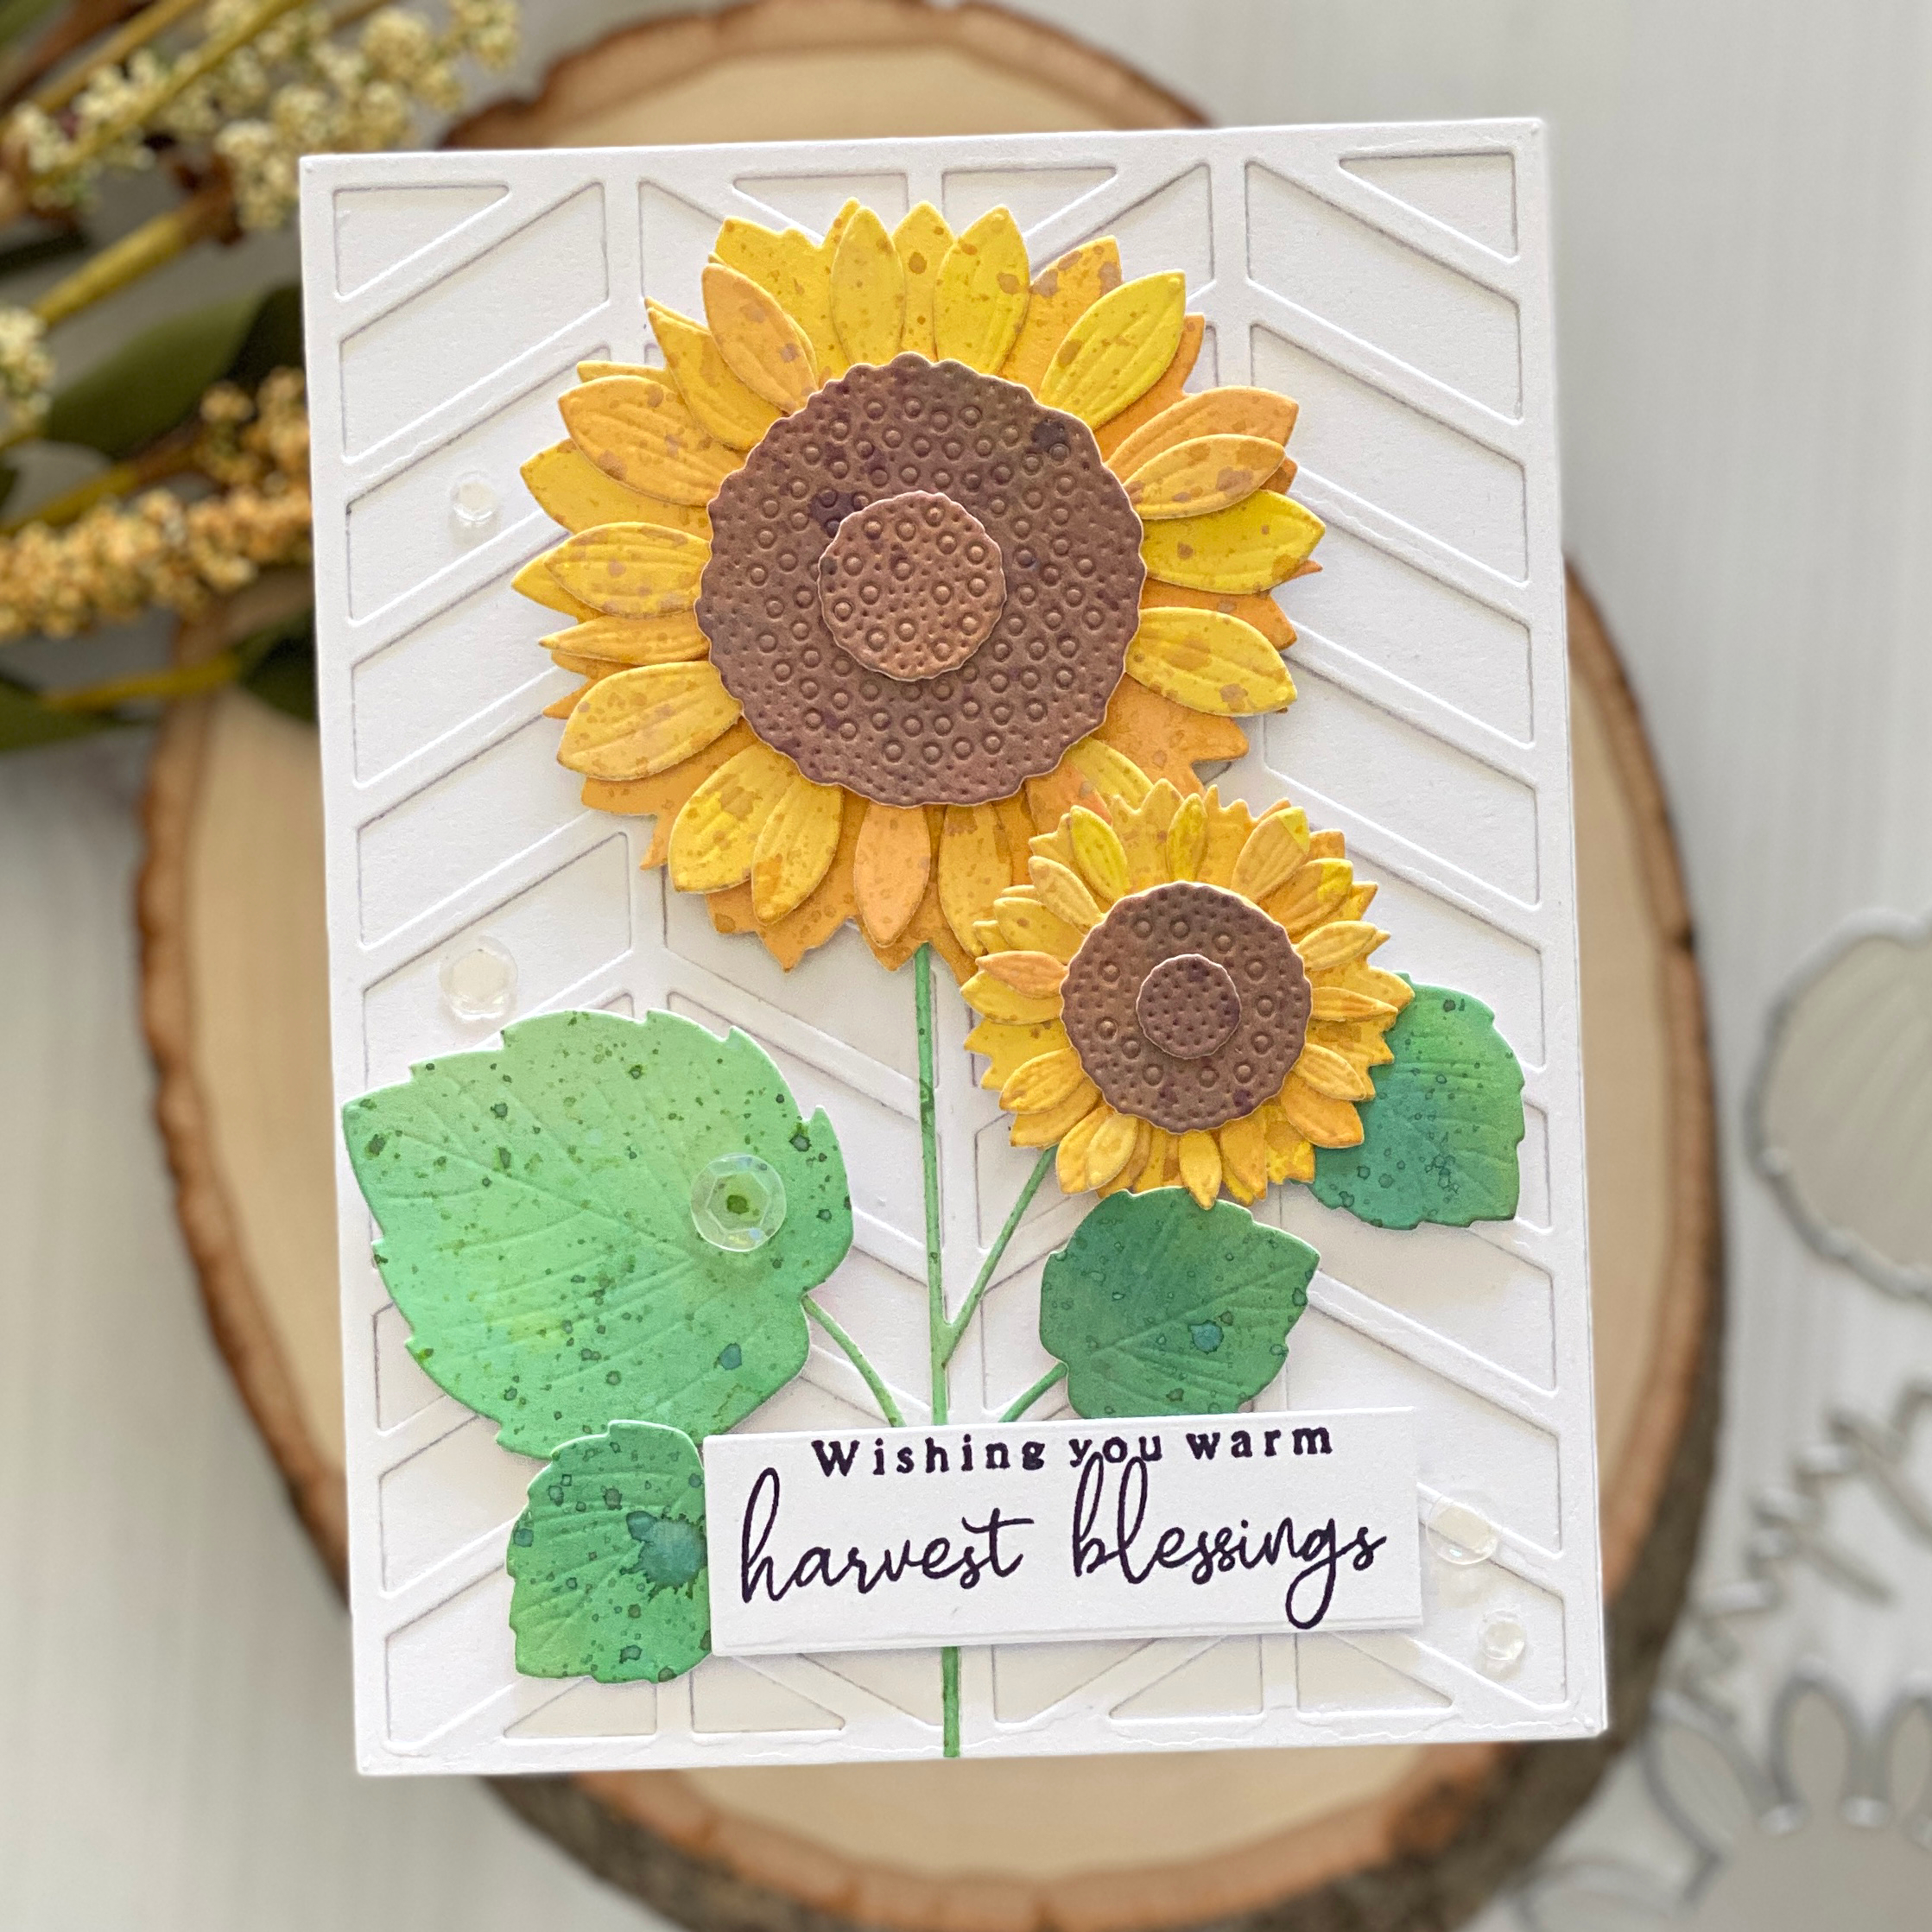
For my next card I once again used the Into The Blooms Sunflower dies. Though this time I used Distress Oxide ink and watercolor paper for my flowers. I smooshed the ink pads onto my glass mat and used a watercolor brush to add color the pieces. Once I was finished I assembled the flowers and attached them to the stem that is also included with the dies.

Next, I used the Herringbone Cover Plate to create my card panel. I then attached my sunflower to the center of my card with foam adhesive. For my sentiment, I used the new Thankful for Fall Sentiments set. Lastly, I added a few clear sequins to finish my card.

How cute it this backpack? It's a new Go To Gift Card Holder!! The Go To Gift Card Holder: Backpack die set includes everything you need to make you backpack, pocket and all of the die cut details. There is also a coordinating stamp and die set that includes all sorts of fun accessories to decorate and add to you backpack. So Cute!!

Your gift card easily slides into the top of you backpack. I added adhesive across the top strip (above the opening) and down along the sides. The bottom of the backpack is the fold. So easy to put together. It would also be so fun to use the backpack to hold a little note into a child's lunchbox or backpack.

That is all for today! I hope you enjoyed my projects and I will be back tomorrow with day 2 of the countdown.
Enjoy your day,

Wonderful Sunflowers but the backpack is just Adorable !!!
ReplyDeleteHi there! Beautiful work! For the sunflowers, did you only use the three layers (large) or did you use more? I’m trying to layer mine with using just the three and it doesn’t quite line up right. Wondering if you can provide any tips! Thank you!
ReplyDeleteThank you! I used all three layers on the larger sunflowers. The layers don’t really “line up”. I just turned them until I was happy with the placement which I think give them a “natural” look. I tried to turn the layers to cover all of the holes or openings but other than that I didn’t fuss too much with it. I hope that helps. 💛
DeleteIt sure does! Maybe I was focusing too much on the fuss … instead of just letting it happen. Lol! Thank you for your input! Have a beautiful week!
ReplyDeleteI would love the back pack, is that a die set?
ReplyDeleteHello! Yes, it is the Go to Gift Card Holder Backpack die from Papertrey Ink. I hope that helps.
DeleteRagini Sharma
ReplyDeleteVery good
ReplyDeleteNice making applies videos happy teacher Day
ReplyDelete