
Trinity Stamps
Otter Space
April 27, 2020
Good Morning Friends and Happy Monday! Today, I am on the Trinity Stamps Blog sharing a card. For my card, I am combining a few different supplies (stamps, dies and a stencil) that are part of the latest release. Let's get started, shall we?
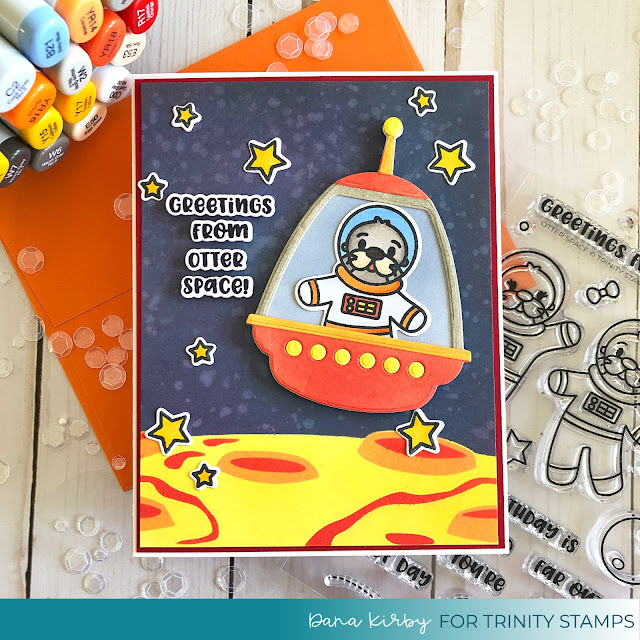
I started my card by creating by background. I used the Crater Layers Stencil along with Distress Oxide Ink. This stencil is so easy to use and line up. There are etched lines on the stencil so you can easily tell where each layer should be placed. For my crater I used: Squeezed Lemonade, Spiced Marmalade and Candied Apple inks. There is also a mask included in the stencil set. So I attached the mask to my card panel (to cover the crater so it wouldn't get ink on it) and ink blended my sky. The colors I used were: Faded Jeans, Seedless Preserves and Black Soot. I spritzed my card panel with water and set is aside to dry.

Once I had my background finished, I began working on my spaceship. I used the Make A Spaceship Die Set for this step. I cut the pieces out of white cardstock and used my Distress Oxide Inks to add color to the pieces before glueing everything together. How cute is this little spaceship? I think it would make really cute little tags too, perfect to tie onto a birthday gift!

Next, I did all of my stamping. I used the Otter Space Stamp Set and stamped my images. I colored them with Copic markers and used the Otter Space Dies to cut them out. I love how there are even dies included for the sentiments!

To finish my card, I placed the cute little otter into the spaceship and attached him to my card panel with foam adhesive. Next, I attached my sentiment along with a few little stars to complete my scene.

Doesn't this cute little otter just make you smile? Thanks for joining me today! I will be back soon to share another project with you all.
Enjoy your day,

Comments
Post a Comment